It’s the age-old dilemma—American travelers want to feel safe, but they don’t like going through security. Welcome to the life of a traveler.
However, you don’t have to sweat it at airport security. If you plan and stick to the rules, the Transportation Security Administration (TSA) doesn’t have to be such a pain in the rear. Here are some essential tips for a more stress-free TSA airport experience.
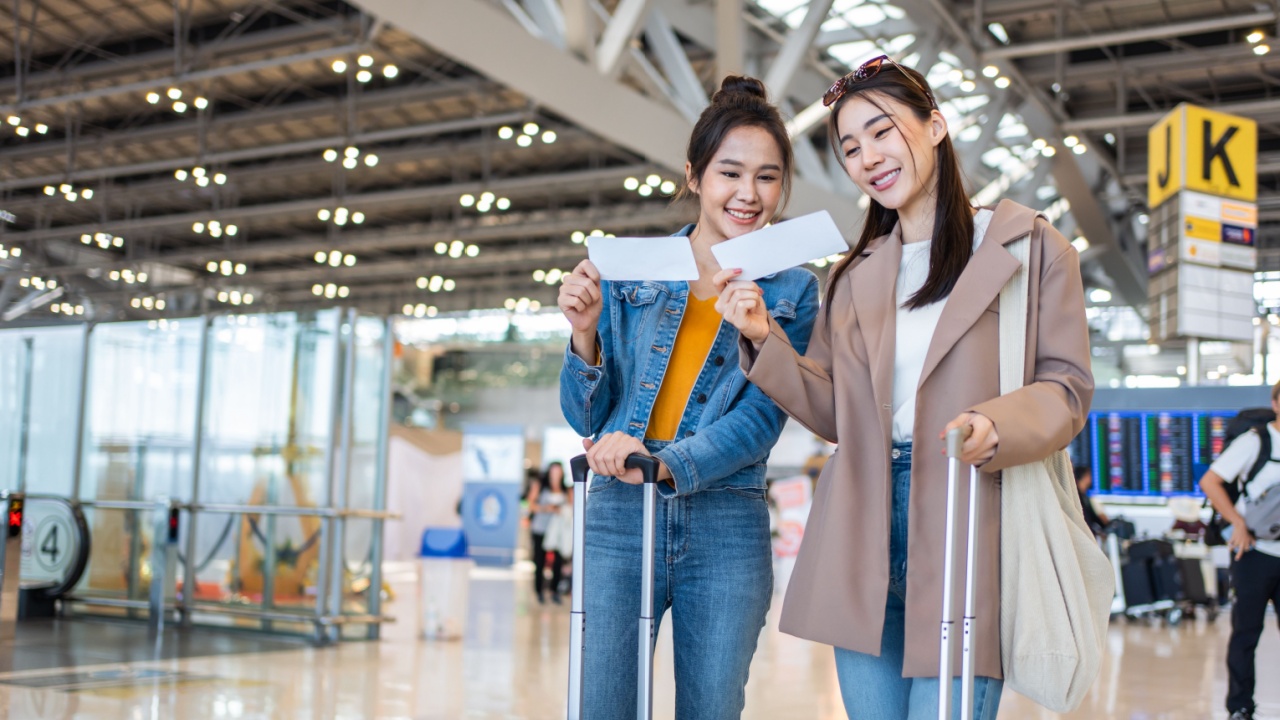
1. Check In Early
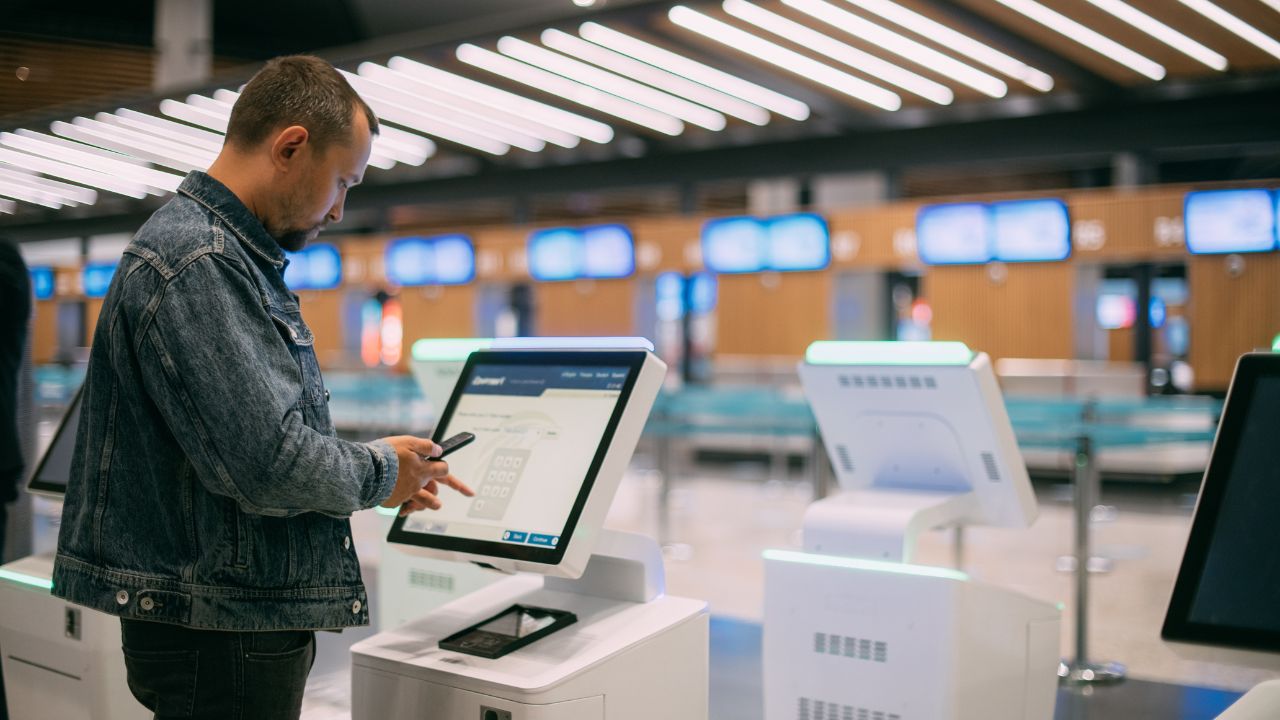
If you can, it always pays to take advantage of airlines’ invitations to check in up to 24 hours before your flight’s departure. Checking in early streamlines the process once you arrive at the airport. If you can’t check in the day before, give yourself enough time at the airport to complete the check-in process there.
2. Tap That App

If you don’t yet have your airline’s smartphone app, download and add it to your phone’s home screen. Not only can you check in through the app, but you can also check luggage, review your airline’s specific rules and regulations, and monitor your flight to see if it’s running on time or experiencing any delays.
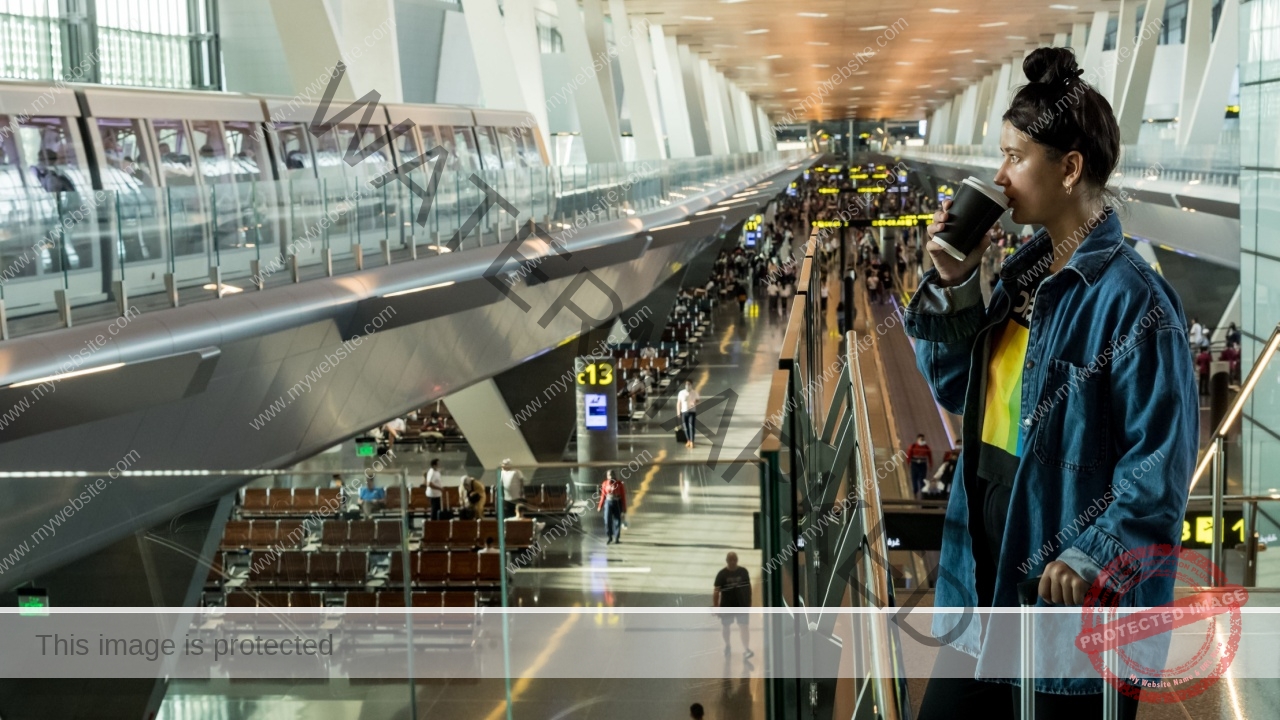
3. Arrive Early!
The general rule of thumb is to get to the airport at least two hours before you’re scheduled to leave on a domestic flight and at least three hours before you’re scheduled to leave on an international flight. Sure, you might be able to wing it if you’re running on a tight schedule, but if you can, it helps to give yourself some cushion time to do everything you’ll need to do at the ticket counter and the TSA security checkpoint.
4. When in Doubt, Leave It Out
No matter what you’ve heard elsewhere, guns are never allowed past the TSA security checkpoint. Neither are knives or brass knuckles, so don’t pack any weapons in your carry-on bags. If you’re found with a firearm at a TSA checkpoint, you’ll face civil penalties of up to $13,000, and you may even be criminally charged. Seriously, don’t do it!
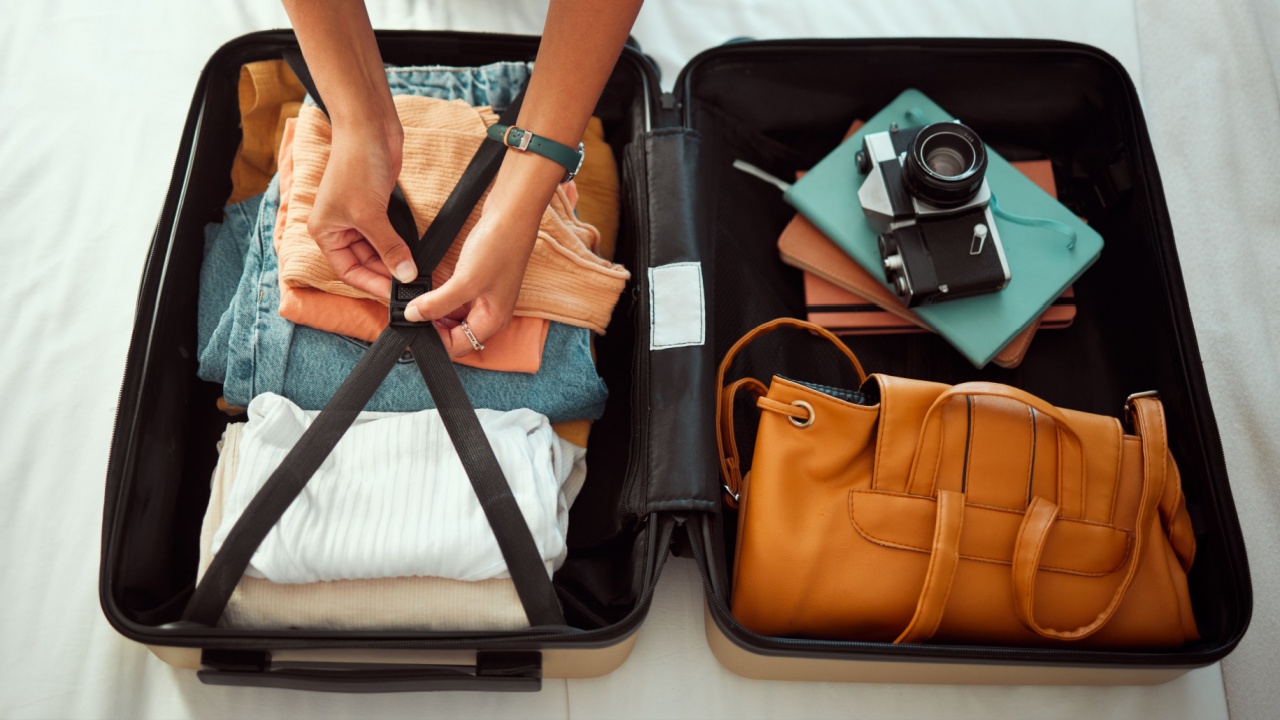
5. Organization Is Key
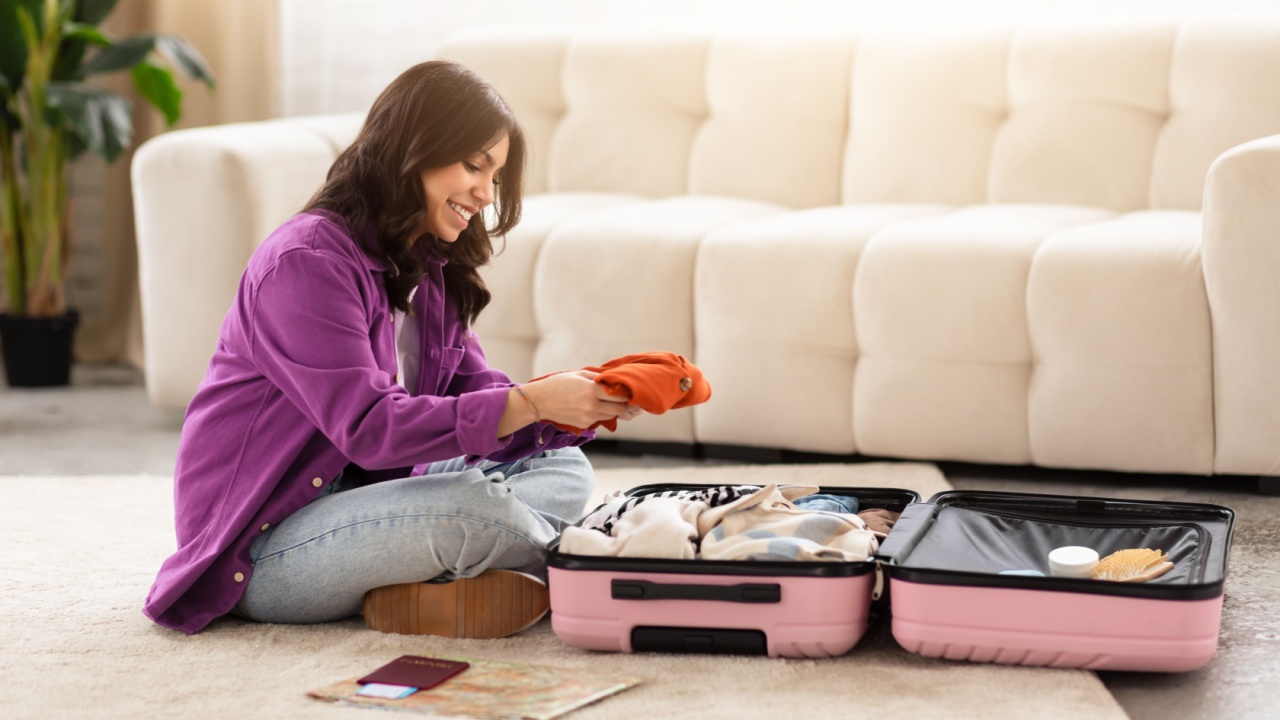
You’ll be asked for identification at the airline ticket counter and then again at the TSA checkpoint. Once you’re inside the airport, you will need your boarding pass to get on the airplane.
During your time at the airport, you may need to check emails on your phone, or perhaps you’ll need some hand sanitizer after munching on a greasy fast-food snack. Organization is key, so organize your carry-on in a way that lets you easily reach everything you need.
6. Stay on Top of Your Laptop (and Other Electronics)

While some airports are quickly bringing in next-generation scanners that don’t require the removal of large electronics from your carry-on(s), there’s no guarantee you’ll be one of the lucky passengers to get in line for one.
Just in case you end up in line for an older scanner, make it as easy as possible to pull out any notebooks or tablets quickly.
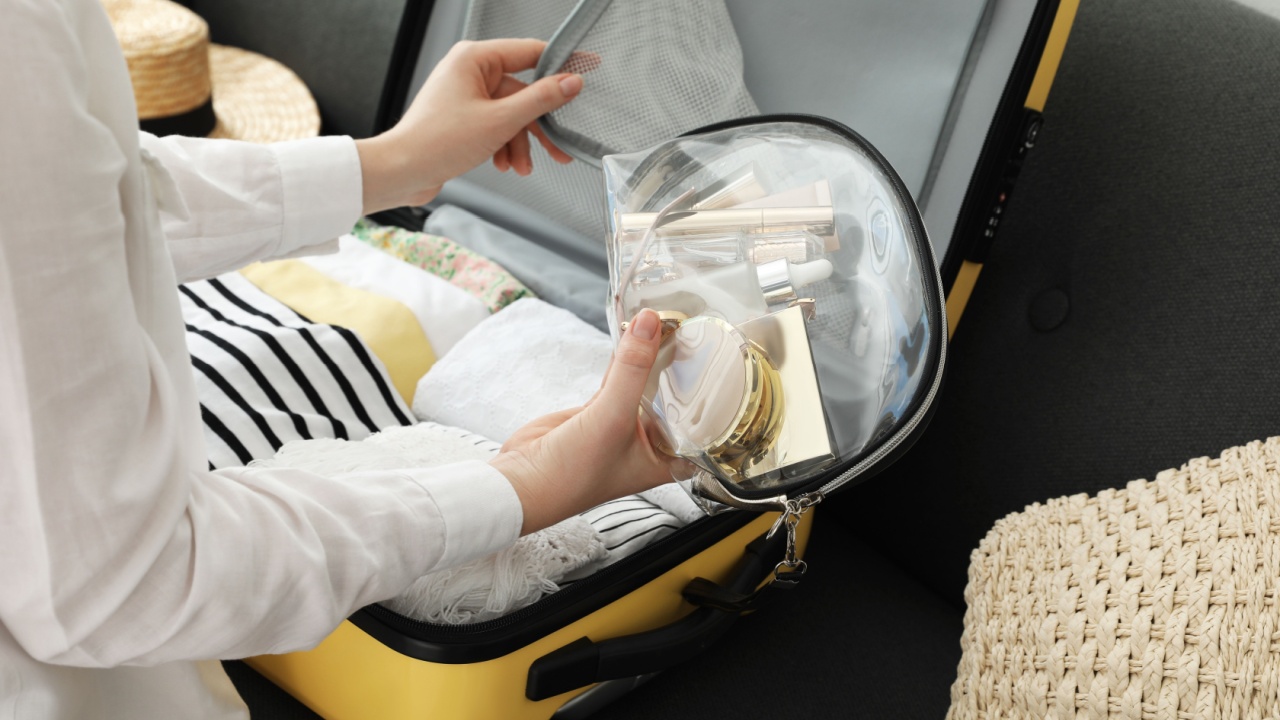
7. Don’t Get Too Wet

When TSA says, “No containers with liquid weighing over 3.4 ounces,” they mean it. Don’t tempt fate—if you’re traveling with any large fragrance bottles, wine bottles, and/or other larger liquid items, pack those in any suitcases you’ll be checking with your airline. If you have any water bottles on hand, chug as much as you can before leaving those behind outside the security area.
8. Dress for Success
When you go through a standard TSA checkpoint, you’ll need to remove your shoes, hat, jackets or sweaters, and metal accessories (like jewelry and belts) before proceeding to the millimeter wave scanner machines (or body scanners). Plan accordingly—try wearing shoes, jackets, and accessories that you can take off easily while waiting in line, then slide back into them once you make it to the other side of the checkpoint.
9. How Much Can You Really Carry On?
TSA rules currently allow carry-on luggage up to 22 inches long, 14 inches wide, and 9 inches deep. Though TSA has no official weight restrictions, you probably don’t want to carry on any item that you’ll struggle to place into your airplane’s overhead storage bin.
If you’re using a suitcase larger than the TSA’s approved carry-on dimensions, plan on checking it. If you don’t want to check any luggage, then keep your luggage as small and light as possible.
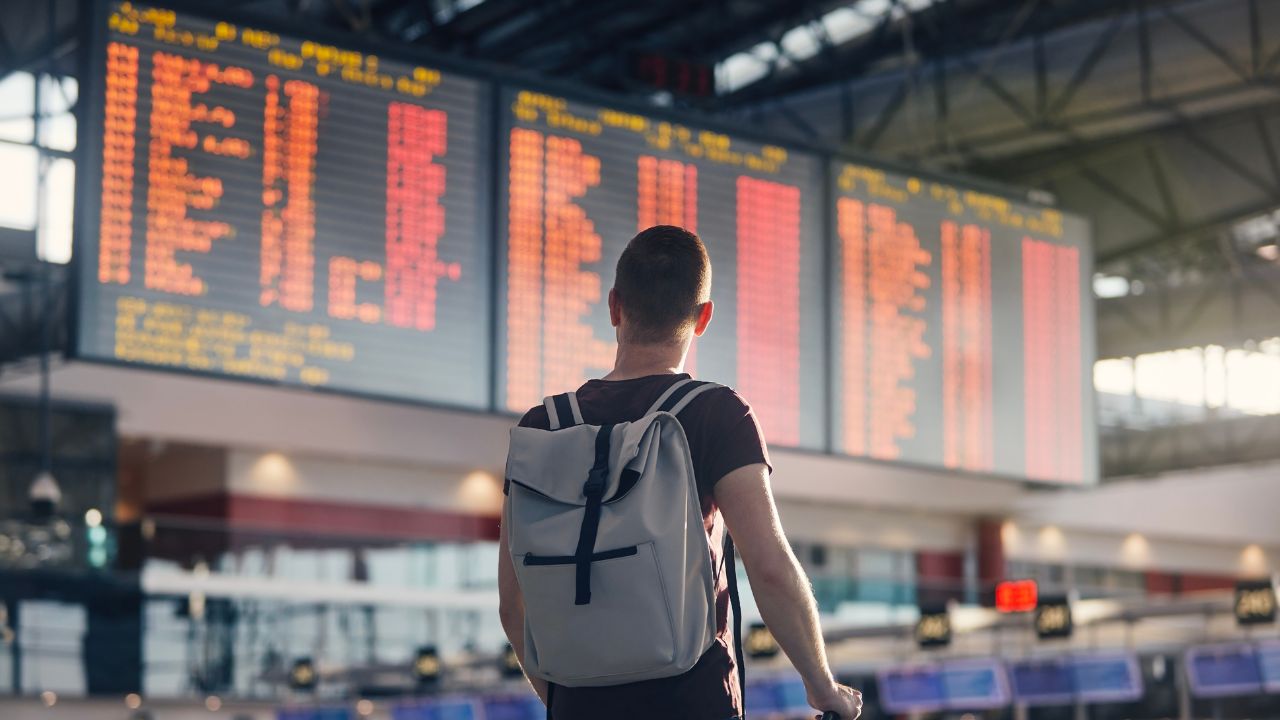
10. Follow the Signs
Fortunately, most airports make it difficult to get lost. Once you’re ready to hit the security checkpoint, simply follow the signage that leads you to the TSA checkpoint. Once you get close to the TSA checkpoint, you should then see signs specifying where to go for general boarding, priority boarding, and TSA PreCheck (see number 15 for more information).
11. Follow the Rules

Just in case there’s still any doubt that TSA takes its rules seriously, let’s clear up any confusion: You will get in trouble if you’re caught blatantly violating TSA requirements. Unless you’re happy to miss your flight, don’t tempt fate. Don’t try to start any fights at the security checkpoint, and don’t bring anything that you know is in violation of the rules.
If you have any questions on what’s allowed and what’s not, you’re better off asking a TSA agent to avoid any potential conflict.
12. If Singled Out, Don’t Freak Out
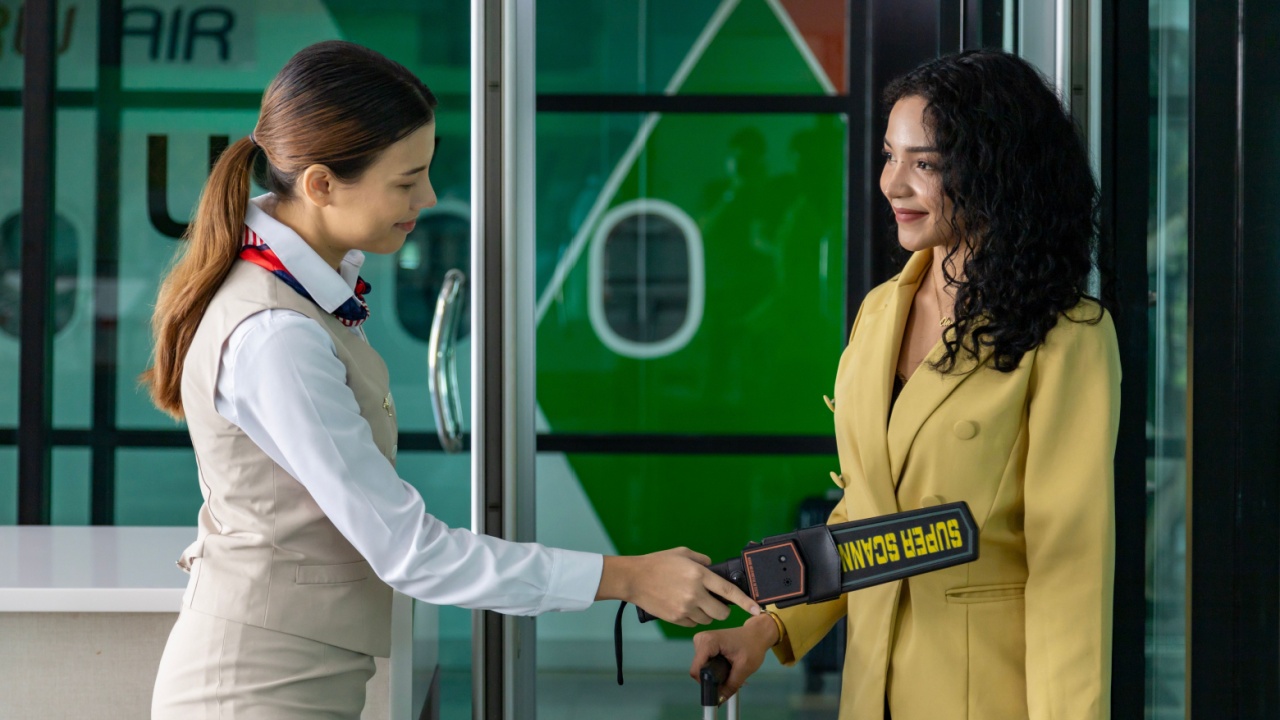
At first, it might seem quite scary if you’re called out after exiting the body scanner. Don’t worry—just prepare for a TSA agent to give you a quick physical pat down. As sophisticated as the late-model millimeter wave scanners are, they don’t always catch everything. As long as you don’t have anything on you that you shouldn’t, you’ll probably survive that pat down quickly and easily.
13. Don’t Leave Anything Behind!

Did you remember to collect all your items from the carry-on scanner belt? Seriously, where are your house keys? Where’s your purse? Where’s your tablet?
Before you leave the TSA checkpoint, check to make sure you’re reunited with all your goods. The last thing you need is an airport announcement calling you out to return to the TSA checkpoint right before your flight because you left your favorite pair of sunglasses there.
14. Do You Really Want to Do It Again?
While many airports now have all their airside areas (or areas on the secure side of TSA checkpoints) connected, some older airports may still require you to return to landside (or pre-security zones) to reach certain gates and amenities.
Before you enter the TSA checkpoint for your gate, you may want to make sure you won’t need to leave the airside zone before your flight. If you do, then plan on giving yourself ample time to redo TSA security.
15. If You’re Willing to Pay More, You Can Spend Less Time in Line
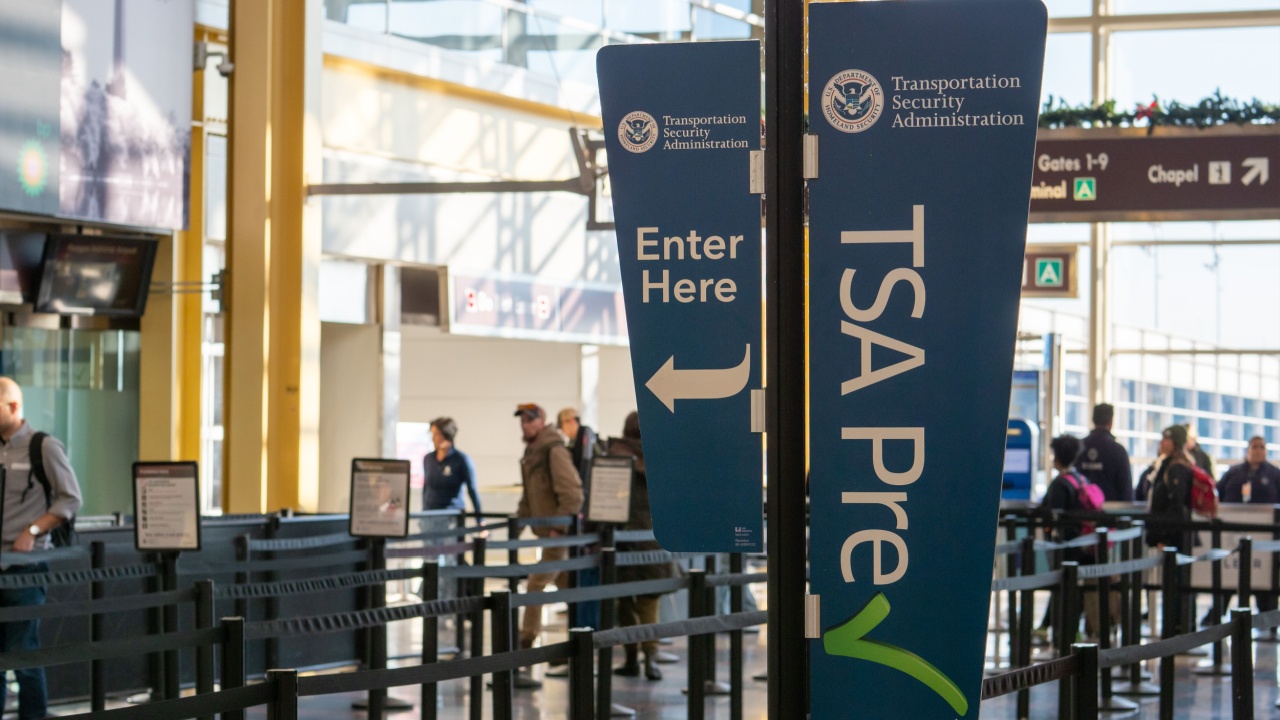
If you’re still feeling stressed and/or frustrated while reading this, then you may want to invest in TSA PreCheck, which is essentially TSA’s express line. As of spring 2024, TSA PreCheck costs $78 for your initial five-year membership and $70 for renewals.
If you regularly travel abroad, it’s probably worth the extra $22 (or $100 total) for Global Entry, which provides full TSA PreCheck benefits plus faster United States Customs screening when re-entering US territory.